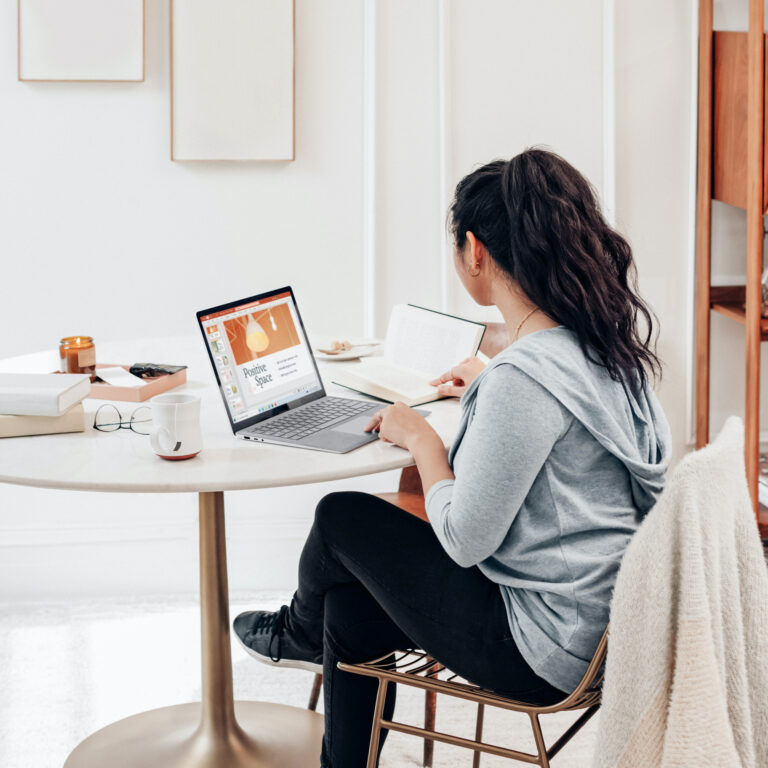
My very first office was a kitchen table in the corner of our living room – our only kitchen table. Which meant that for the most part, in order for me to have an “office,” we ate dinner on the couch. This is the only photo I can find of my kitchen-table-office – I had one bag of office supplies under the desk, a monitor on top of the table, and would often lay on the floor so I could look out the deck window for some sunshine.
I didn't really know where my business would go back then. I had dreams based on what I saw others doing and hadn't really figured out what I wanted. I only wanted to make enough money that I wouldn't have to get another day-job.

My husband and I move for his job fairly often, so 6 months later we were relocated and I left my kitchen table office in Danbury, CT and upgraded to an enormous office in Pittsburgh, PA. I wasn't planning to have a giant office, but the townhouse we rented had two master suites instead of one master and one smaller room, so I ended up with an office that was roomier than I expected.
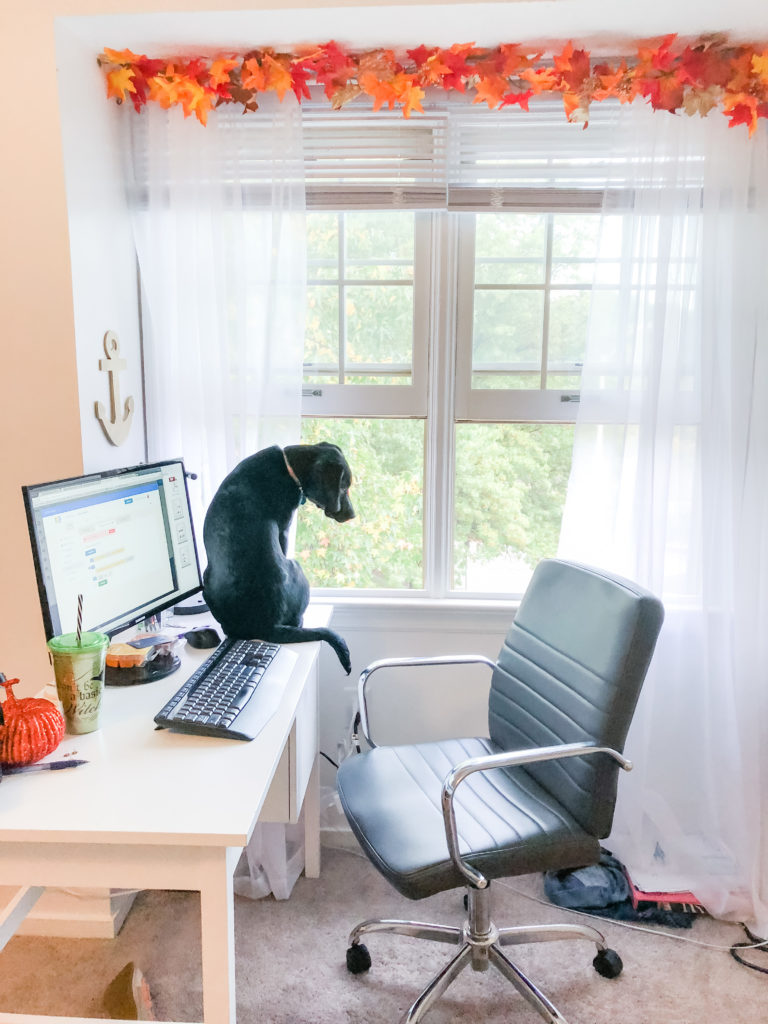
I searched and searched but only found this one photo that showed my favorite corner. Full disclosure, it was definitely a poor decision on my part to let me puppy sit on my desk to look out the window and I wouldn't do it now that I know better. Let's just blame that on being young and a new dog mom!
It was in this office that I hired my very first assistant Lexi. There was another window spot directly across from this one and she worked there once a week for a few hours – the rest of the time, my husband used that desk.
I bought this desk almost 4 years ago now and can't find it anymore, but I did find this very similar one on Amazon for you.
It was in this office in Pittsburgh, PA that I had some of the hardest times I'd ever had in my business. The times when I truly weighed whether or not it would be worth pushing through or if it made more sense to go the traditional job route. It's also where we brought home our first pup, Zoe and made many great memories. This is an office full of emotion and I'm grateful for all of them – hard, good, bad, positive, negative, and everything in between.
Just 18 months later, we were relocated again – so from Pittsburgh, PA to Manchester, NH we went! Funnily enough, this was the town we originally lived in before moving to Connecticut and we moved just across town from where we lived when we first met. It was nice to be around family again!
In Manchester, I shared my office with Elias – can you tell where his side began and mine ended? Ha!
It was like battle of the sexes.
He had posters of the company he worked for on the wall above his desk and so every time I recorded a video, it was like an advertisement for his company. My business coach always, always commented that I needed to find a way to have a more on-brand background, and it made sense. His dark posters were a little jarring on my bright and light website so an office where I could really have my own space was a priority on the list for the next time we moved.
My desk in this office was made of 2 pieces of 2 X 2 cube storage with a large piece of stained 3/4 inch birch plywood laid on top. This is a DIY project that definitely gets a 10/10 rating from me – that desk was awesome! I used Kona wood stain from Varathane – it was the perfect cool brown with a little bit of transparency to show the woodgrain. We used stainable peel and stick birch banding along the edged to hide the plywood edges and give it a finished look.
I'll link the cube storage, banding, and wood stain from Amazon below and you can grab plywood from your local home depot or lumber store!

You know the drill by now!
18 Months later, we were relocated again – this we moved from Manchester, New Hampshire to Hackettstown, New Jersey and this is where we live now.
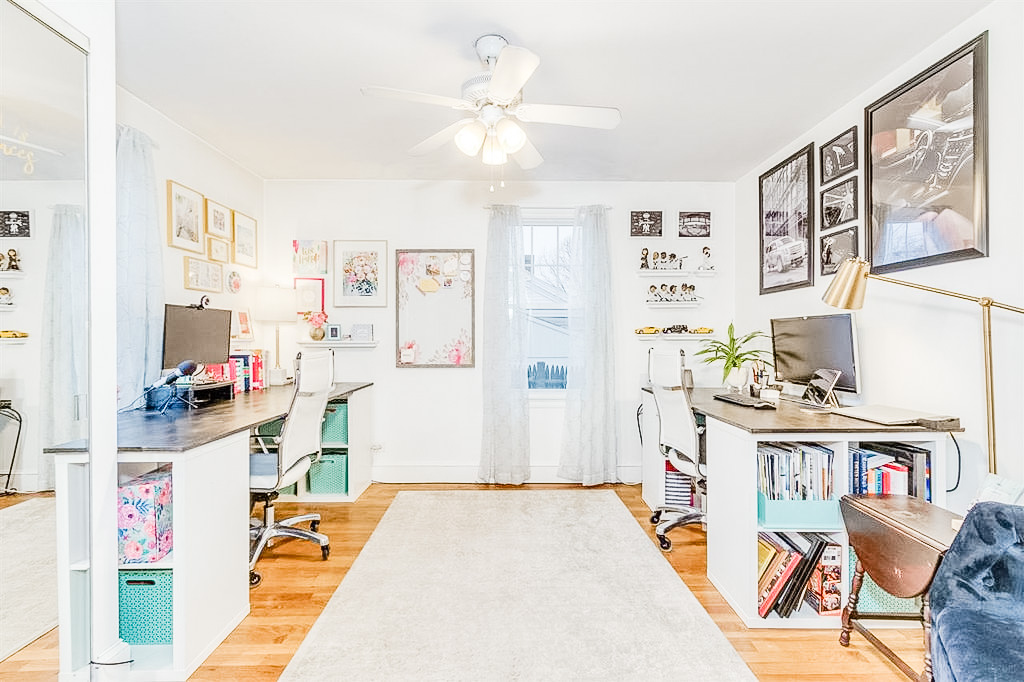
Elias and I LOVE to buy a move-in-ready house and tear it up, so that's exactly what we did. here is the before and after of my new office:
This is honestly the office of my dreams. Previous a deep red dining room with tuscan vibes, we had a blast transforming it into a coastal-inspired, bright and airy office. We started by painting the entire room Melting Moment by Behr.
I am completely obsessed with this paint color.
We used thier Marquee line and y'all, this paint was pure magic. It covered that deep red in ONE coat with just ONE can. If that isn't a miracle, I don't know what is – I truly expected it to take a minimum of 2 coats.
Next, we ripped out the carpet and installed hardwood. We debated between laminate and vinyl plank and to be honest, the price comparison for realistic-looking vinyl or laminate was nearly the same. So we just opted up and installed hard wood with the help of my parents, one of whom owns a construction company.
Next up went the wainscotting – this is SUCH an easy, low-cost project that gives a room a MAJOR upgraded look. I can barely keep myself from doing the entire house. Basically, you just install a thick chair rail, the 4 inches down install a skinny chair rail. Then 4 inches below that, add pre-made rectangles (or make then, if you're fancy) each 4 inches apart. Since 4 is clearly the magic number here, you leave 4 more inches of space under the rectangle and then finish with shoe moulding. Painting the whole thing white and voila – classy, upgrades, and bright!
If you want an instant upgrade to your office, I highly recommend waiscotting.
Some of the other upgrades we made to this room was to add 4 can lights, a ceiling fan, and install doors – a set of glass french doors on the front, and a solid door leading to our kitchen – for privacy. The only regret I have is not paying extra for primed french doors. We bought ours as unfinsihed wood to save some money and they took FOREVER to paint. It would have totally been worth it to get then primed already so we only would have to do one coat.
If you're thinking of adding wainscotting to a room in your house click here for a pretty good tutorial – the main thing we did differently was that we didn't hand make every rectangle – we bought ours premade. This saved a ton of time and was definitely worth it in my opinion. Here are links to some of the supplies we used – I SEARCHED the home depot website for the exact panels we used but couldn't find them, so I found similar ones on Amazon so you have a starting point!
Both my desk and my office chair were Facebook marketplace deals. The desk is originally from Boston Interiors with a retail value of about $1,200 and I scored it for $100. The chair was being sold by a local business that was revamping their offices and I was able to snag it for just $60.
This desk with the hutch doesn't appear to be available on the Boston Interiors website any more, but I linked a similar one from them above. I also found a really cute hutch desk on Amazon that has a much thriftier price point than this one, so I'll link that too! Because my chair was secondhand, I'm not sure of the brand but I did find a similar one (it's so close, I think it's safe to call it a dupe!) on Amazon – the only recommendation I have is to spray it with leather protectant and clean once a week with a magic eraser to avoid it turning blue from jeans like mine!
These wheels for my office chair are THE absolute best if you want to protect your floors – they are rollerblade wheels! They are a firm rubbery material so they glide on floors and don't have any hard plastic that comes in contact with the floor, so it doesn't scratch or leave behind any damage. Standard office chair castor wheels can actually just be pulled off and replaced, so these work on pretty much all office chairs. My husband uses them in his office too.
If you've known me for any amount of time you know that I have a deep, deep love for bright colors, a happy decor vibe, and original artwork. And while I can't claim that every piece on my gallery wall is from an artist, most of them are! I just can't resists a fun TJ Maxx find though – and I have a feeling you're nodding you're head in agreement right now.
If you ever have a chance to support an artist and buy a piece directly though, I hope you will consider some of the icnredible women who created these pieces on my wall – they are BEYOND talented and I am completely obsessed! I'm going to link you to their Instagram accounts below so you can give them a follow. They all have website/shop links in their Instagram bios!
Plus I also have a few prints throughout my office, mostly from Cultivate What Matters, Simplified, and Amber Housley.
My gold shelf is linked here!
I picked up that gorgeous String of Pearls plant, along with this Pilea from a gardener on Etsy called Find Us In The Forest – they were amazing and I highly recommend their plants. I was a little skeptical about shipping a live plant but I've always wanted these two unique plants and I'm so glad I got over my skepticism. Find Us In The Forest packaged them so carefully and they were pot-ready and healthy when they arrived.
I LOVE greenery in my office – it just makes the whole room feel fresh and alive. Another trick to making your office feel more energetic is to pick up a few fresh blooms and put them in a vase on your desk. In the summer, I grow roses and dahlias which you can pick up from your local nursery and grow in a pot or garden. But the rest of the year, I just pick up some inexpensive flowers like carnations when we do our weekly grocery shopping. It usually costs me $5 to $10 a week and makes all the difference.
But honestly, if you walk away from this with ONE crazy useful hack it is to put a metal rack in your closet and store your printer in there, our of the way.
I can't stand taking up space on my desk with a printer so we started doing this last year when we lived in Manchester and it was a game changer. We ordered this wire rack from Amazon – it's 30 inches wide, making it PERFECT for a standard coat closet.
We just assembled the shelved to fit whatever we wanted – so the printer shelf was tallest, and then the rest of the shelves were assembled to fit these baskets. These are my ALL TIME favorite baskets – we probably own 25 of them all over the house. They're in every single closet, the garage, my office and we even used to use them in the freezer to organize meats before the got a bottom drawer freezer. They. Are. Amazing.
Well, that's a wrap my friends!
Thanks for taking a tour of my office – I hope it inspired you to go do some DIY projects, support a local artist, get organized or to just keep on keeping on.
And if you want to see all of the things I mentioned (and probably a few extras, as I remember them) that I use to furnish, decorate, or organize my office click the button below! I made a list on Amazon and linked everything I mentioned here and then some so that it's easy to find any time.